

# Cool & Creamy No-Bake Ice Cream Pie
## About This Recipe
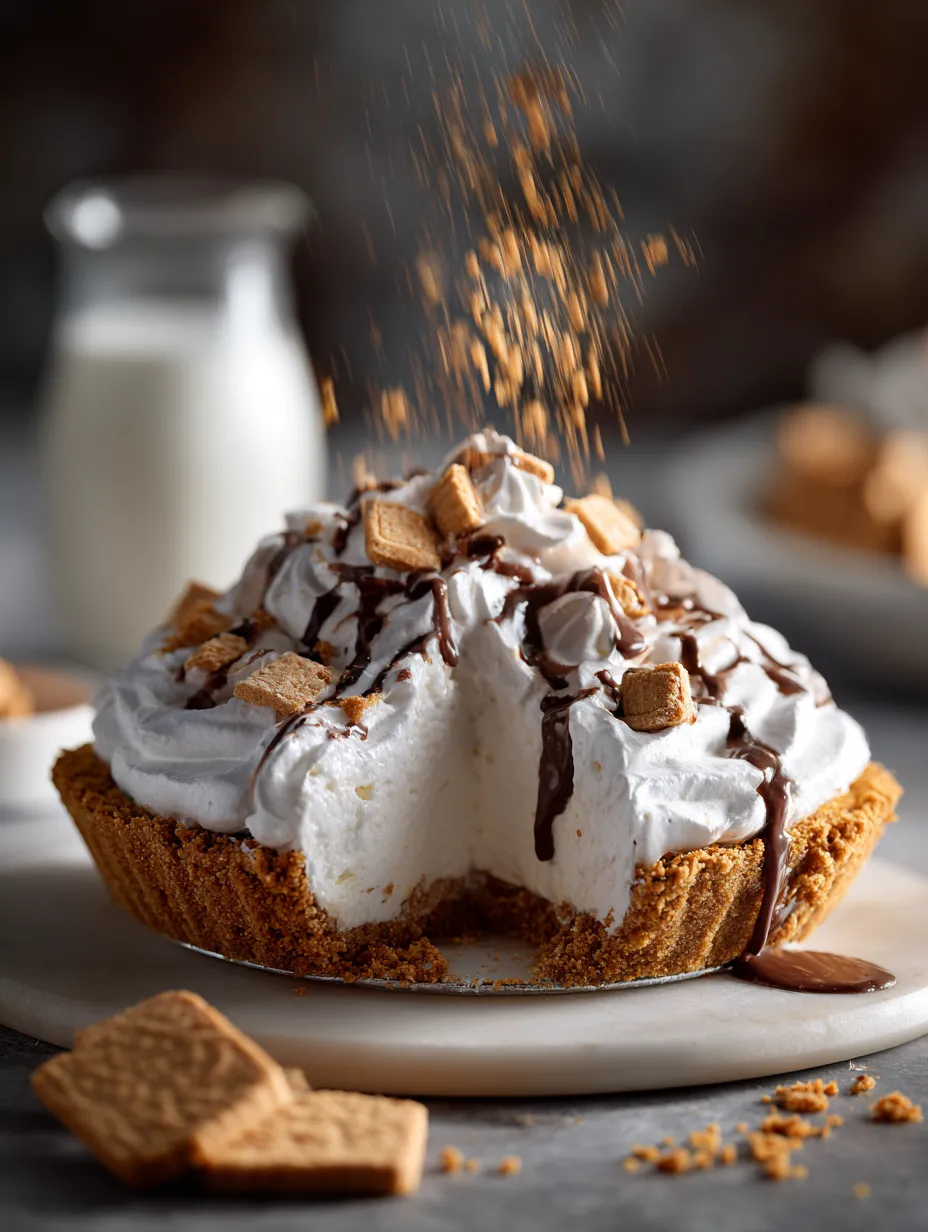
Discover the magic of the Cool & Creamy No-Bake Ice Cream Pie, a delightful dessert that perfectly combines the richness of chocolate and the smooth texture of ice cream. This easy recipe is ideal for beginners and is a guaranteed crowd-pleaser at any gathering. The best part? You don’t have to turn on the oven! Instead, you can whip up this indulgent treat without any baking, making it a fantastic option for hot summer days or last-minute dessert needs.
The beauty of this no-bake ice cream pie lies in its versatility. You can customize it with your favorite ice cream flavors and toppings, ensuring it suits your taste preferences and those of your guests. Whether you’re hosting a birthday party, a casual get-together, or simply looking to satisfy a sweet tooth, this pie is sure to impress.
## Why You’ll Love This
This no-bake ice cream pie is the perfect treat for hot summer days, birthday celebrations, or whenever you crave something sweet and refreshing. With its creamy filling and crunchy crust, it offers a delightful contrast in texture. The graham cracker crust provides a satisfying crunch while the ice cream filling melts in your mouth, creating a harmonious blend of flavors.
Not only is this pie delicious, but its simplicity makes it accessible for novice bakers. You don’t need to be a culinary expert to create a stunning dessert that will wow your family and friends. The straightforward steps and minimal equipment required mean you can focus on enjoying the process rather than worrying about complicated techniques. Plus, it’s a great way to get kids involved in the kitchen, making it a fun family activity.
## Ingredient Breakdown
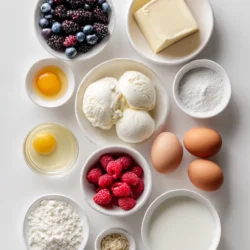
To make your Cool & Creamy No-Bake Ice Cream Pie, you will need the following ingredients, each bringing its unique flavor and texture to the dessert:
– **Graham Cracker Crumbs**: This ingredient provides the foundation for the crust, lending a sweet and slightly nutty flavor. Made from crushed graham crackers, they are often used in desserts to create a tasty base that complements the filling. If you’re looking for a gluten-free option, consider using gluten-free graham crackers or ground almonds.
– **Unsweetened Cocoa Powder**: Cocoa powder adds a rich chocolate flavor to the crust, enhancing the overall taste of the pie. It’s important to choose unsweetened cocoa powder to control the sweetness of your dessert, allowing you to balance it perfectly with the other ingredients.
– **Melted Butter**: This ingredient binds the crust ingredients together and adds moisture, giving the crust a rich, buttery flavor. When melted and mixed with the dry ingredients, it helps create a cohesive mixture that can be easily pressed into the pie dish.
– **Granulated Sugar**: Sugar enhances the sweetness in the crust, balancing the flavors and making it more enjoyable. It also contributes to the crust’s texture, helping it hold together while adding a touch of sweetness.
– **Ice Cream**: The star of the pie; choose your favorite flavor for a personal touch. Vanilla and chocolate are classic choices, but feel free to experiment with fruity flavors, cookies and cream, or even coffee for a unique twist. The softer the ice cream, the easier it will be to mix and spread.
– **Whipped Cream**: This ingredient adds lightness and airiness to the filling, creating a fluffy texture that contrasts beautifully with the dense crust. You can use store-bought whipped cream or make your own by whipping heavy cream until soft peaks form.
– **Chocolate Fudge Sauce**: Infusing the pie with chocolate goodness, fudge sauce adds a luscious layer of flavor. You can buy this ready-made or make your own for an extra special touch. The sauce adds both sweetness and a deep chocolate flavor that complements the ice cream.
– **Crushed Nuts**: Optional, but they add a delightful crunch and flavor contrast (think pecans or almonds). If you or your guests have nut allergies, feel free to skip this ingredient or substitute with seeds like sunflower seeds for crunch.
– **Chocolate Chips or Mini Marshmallows**: These optional toppings enhance the pie’s visual appeal and add extra sweetness. Chocolate chips provide a tasty burst of chocolate flavor, while mini marshmallows add a fun, chewy texture.
## Step-by-step Preparation
Now that you’re familiar with the ingredients, it’s time to dive into the preparation! Follow these step-by-step instructions for the initial steps of making your no-bake ice cream pie:
### Creating the Crust
1. **Gather Your Ingredients**: In a mixing bowl, combine 1 ½ cups of graham cracker crumbs, ½ cup of unsweetened cocoa powder, ½ cup of granulated sugar, and ½ cup of melted butter.
2. **Mix the Dry Ingredients**: Start by mixing the graham cracker crumbs, cocoa powder, and sugar together until evenly combined. This ensures that each bite of the crust has a consistent flavor.
3. **Add Melted Butter**: Pour the melted butter into the dry ingredients. Use a spatula or your hands to mix everything together until it resembles wet sand. The mixture should hold together when pressed.
### Forming the Crust
4. **Prepare the Pie Dish**: Grab a 9-inch pie dish and transfer the crumb mixture into it.
5. **Press the Mixture**: Using the back of a measuring cup or your fingers, firmly press the mixture into the bottom and up the sides of the dish to create an even layer. Be sure to press down firmly to avoid a crumbly crust once it’s frozen.
6. **Freeze the Crust**: Place the crust in the freezer for 10-15 minutes. This step helps the butter set and keeps your crust from falling apart when you add the filling.
### Preparing the Filling
7. **Soften the Ice Cream**: While the crust is freezing, take your chosen ice cream out of the freezer and allow it to soften for about 10-15 minutes. It should be soft enough to scoop easily but not melted.
8. **Combine Ingredients**: In a large mixing bowl, gently fold together the softened ice cream, 1 cup of whipped cream, and ½ cup of chocolate fudge sauce until just combined. Be careful not to overmix; you want to keep the light and fluffy texture of the whipped cream intact.
9. **Add Nuts (Optional)**: If you’re using crushed nuts, fold them into the mixture at this stage.
### Assembling the Pie
10. **Fill the Crust**: Once the crust has set, remove it from the freezer. Pour the ice cream mixture into the crust, spreading it evenly with a spatula to ensure a smooth surface.
Continue to follow the remaining steps in the recipe to complete your Cool & Creamy No-Bake Ice Cream Pie. This dessert is bound to become a favorite for its delicious flavors and easy preparation!
whipped cream with store-bought whipped cream for convenience. Just make sure to choose a high-quality brand for the best results.
### Component Preparation
**Graham Cracker Crust**
To create a delicious graham cracker crust, start by finely crushing the graham crackers. You can do this using a food processor, or by placing them in a resealable plastic bag and using a rolling pin to crush them. Aim for a texture that resembles sand, as this will ensure a smooth and cohesive crust. Once crushed, transfer the crumbs to a mixing bowl and combine them with melted butter and a bit of sugar for sweetness. Mix well until all the crumbs are evenly coated, which will prevent any dry spots in the finished crust. Press the mixture firmly into the bottom and up the sides of a pie dish, creating an even layer. Place the crust in the freezer for about 30 minutes to set while you prepare the filling.
**Ice Cream Filling**
For the ice cream filling, choose your favorite flavor; vanilla, chocolate, or cookies and cream are popular choices. Before mixing, allow the ice cream to sit at room temperature for about 10-15 minutes to soften slightly. This will make it easier to fold into any additional ingredients, such as whipped cream or chocolate chips. Once softened, transfer the ice cream to a large mixing bowl and gently stir in any mix-ins you desire, such as crushed cookies or nuts. The goal is to maintain the ice cream’s creamy texture, so mix carefully until just combined.
**Toppings**
If you plan to use toppings like chopped nuts, chocolate shavings, or a drizzle of fudge, prepare these in advance. Chop any nuts or chocolate into small pieces and set them aside in bowls. This will help streamline the assembly process and ensure that you have everything ready to go.
### Assembly & Serving Tips
Once your graham cracker crust has chilled and your ice cream filling is prepared, it’s time to assemble the pie.
1. **Fill the Crust**: Spoon the ice cream filling into the chilled graham cracker crust, spreading it evenly to create a smooth surface. Use a spatula to ensure it’s packed tightly and reaches the edges of the crust.
2. **Chill**: Return the assembled pie to the freezer and let it chill for at least four hours, or preferably overnight. This extended chilling time allows the pie to set properly and hold its shape when sliced.
3. **Slice and Serve**: For the best presentation, use a hot knife to slice through the pie. Simply dip the knife in hot water, wipe it dry, and then slice through the pie. This technique prevents the ice cream from sticking to the knife and creates clean edges.
4. **Extras**: Serve each slice with a small bowl of extra chocolate fudge sauce or whipped cream on the side for those who want to add a little extra indulgence.
### Presentation
Presentation is key when it comes to desserts, and a no-bake ice cream pie is no exception.
– **Decorative Dish**: Use a decorative pie dish to enhance the visual appeal of your ice cream pie. A colorful or patterned dish can make the dessert look more inviting and festive.
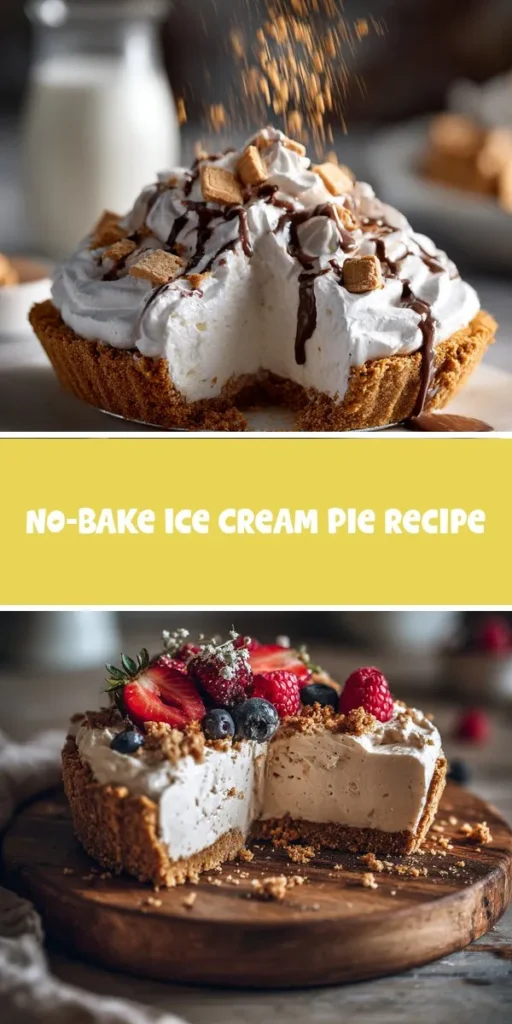
– **Garnishing**: Add a pop of color by garnishing each slice with fresh fruits such as strawberries, raspberries, or slices of banana. These not only add visual interest but also contrast nicely with the rich flavors of the ice cream.
– **Serving Ware**: Serve slices on colorful or themed plates that complement the ingredients used in the pie. Brightly colored plates can make the dessert feel more celebratory and enhance the overall dining experience.
### Variations
This no-bake ice cream pie is wonderfully versatile, allowing you to customize it to suit your preferences.
– **Flavor Swaps**: Don’t hesitate to experiment with different ice cream flavors. Try strawberry for a fruity twist, mint chocolate chip for a refreshing alternative, or coffee for those who enjoy a caffeine kick. Each flavor brings its own unique character to the pie.
– **Nut-Free Options**: If you need a nut-free dessert, simply omit any nuts from your recipe. Instead, consider adding more chocolate chips, marshmallows, or even crushed candy bars to maintain that delightful crunchy texture.
– **Healthier Alternatives**: For a lighter version of this dessert, consider using whole grain graham crackers for the crust and low-sugar or dairy-free ice cream. These substitutions can help you enjoy the pie with fewer calories while still satisfying your sweet tooth.
### Storage Guidelines
To keep your no-bake ice cream pie fresh and delicious, proper storage is essential.
– **Freezing**: Store any leftovers in the freezer. Cover the pie tightly with plastic wrap or aluminum foil to prevent ice crystals from forming, which can affect the texture of the ice cream.
– **Shelf Life**: The pie can be kept in the freezer for about 1-2 weeks. However, for the best flavor and texture, it’s recommended to enjoy it within a few days of making it.
### FAQ
**Can I make this pie in advance?**
Absolutely! This no-bake ice cream pie is an excellent choice for making ahead of time. Just freeze it for at least 4 hours or overnight to ensure it’s set and ready to serve when you need it.
**What if I don’t have graham cracker crumbs?**
If graham cracker crumbs are unavailable, you can easily substitute them with other cookie crumbs, such as Oreos or digestive biscuits. Each option will impart a different flavor, allowing you to create a unique pie.
**Can I use store-bought whipped cream?**
Yes, using store-bought whipped cream is a great way to save time. Just ensure that you choose a high-quality brand that will complement the flavors of your pie.
With these instructions and tips, you are well on your way to creating a show-stopping cool and creamy no-bake ice cream pie that is sure to impress friends and family alike. Enjoy experimenting with flavors and presentations, and most importantly, savor each delicious slice!