
Introduction
In recent years, homemade ice cream has surged in popularity, transforming from a nostalgic summer treat into a gourmet dessert that many home cooks are eager to master. The enticing allure of crafting your own flavors, combined with the satisfaction of using fresh ingredients, has led to a renaissance of ice cream making. Among the myriad of flavors one can choose from, mint ice cream holds a special place in the hearts of many. Its unique flavor profile—bold yet refreshing—makes it a standout option for those looking to elevate their dessert game.
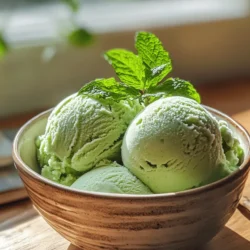
Mint is not just another herb; it is a flavor that invigorates the palate and refreshes the spirit. The coolness of mint combined with the creamy richness of ice cream creates a delightful contrast that is both satisfying and uplifting. As the weather warms up, there’s nothing quite like a scoop of homemade fresh mint ice cream to cool you down and awaken your senses.
In this recipe, we will delve into the art of making mint ice cream from scratch. You can expect a detailed journey through the process, highlighting the importance of using fresh ingredients to elevate your ice cream experience. Whether you are an ice cream aficionado or a curious beginner, this recipe will guide you step by step, offering insights and tips to ensure a successful and delicious outcome.
Understanding Mint in Cooking
Mint is a versatile herb that has been cherished for centuries in various cuisines around the world. Its refreshing aroma and distinctive flavor make it a favorite ingredient in everything from savory dishes to sweet treats. The history of mint stretches back to ancient civilizations, where it was often associated with hospitality and cleanliness. Romans, for example, utilized mint to flavor their wines and dishes, while ancient Greeks prized it for its medicinal properties.
Culturally, mint holds significance in many culinary traditions. In Middle Eastern cuisine, fresh mint is commonly used in salads, sauces, and as a garnish for a variety of dishes. In Indian cooking, mint chutney is a staple accompaniment that adds a burst of flavor to meals. The herb’s versatility extends to beverages as well, with mint tea being a popular refreshment in numerous countries.
Beyond its culinary appeal, mint offers a range of nutritional benefits. It is low in calories and rich in vitamins A and C, along with essential minerals like iron and manganese. Additionally, mint possesses antioxidant properties and has been linked to digestive health. This makes it not only a flavorful addition to your ice cream but also a nutritious one.
There are several varieties of mint, each with its unique flavor profile. The most common types you might encounter include spearmint and peppermint. Spearmint, with its sweeter flavor, is often the preferred choice for desserts, while peppermint has a more intense, cooling sensation. For this homemade mint ice cream recipe, fresh spearmint is recommended, as it imparts a gentle sweetness that perfectly complements the creaminess of the ice cream.
Ingredients Breakdown
To craft the perfect mint ice cream, it’s essential to understand the role each ingredient plays in creating a smooth, creamy, and flavorful final product. Here’s a breakdown of the key ingredients used in this recipe:
Fresh Mint Leaves
The star of our recipe, fresh mint leaves, are crucial for flavor. When selecting mint, look for vibrant green leaves that are fragrant and free from any discoloration or wilting. The best mint can often be found at local farmers’ markets or specialty grocery stores. If you have the space, consider growing your own mint at home; it thrives in gardens and pots alike, offering a continuous supply of fresh leaves.
Whole Milk
Whole milk is an essential ingredient for creating a rich and creamy ice cream base. Its higher fat content compared to lower-fat milk varieties allows for a smoother texture and a richer mouthfeel. While alternatives such as almond or oat milk can be used, they may not provide the same luxurious texture that whole milk offers. The creaminess from whole milk helps balance the refreshing flavor of mint, resulting in a well-rounded ice cream.
Heavy Cream
In addition to whole milk, heavy cream contributes significantly to the ice cream’s richness. The high-fat content in heavy cream is what gives ice cream its delightful creaminess and prevents the formation of ice crystals, ensuring a smooth texture. This ingredient is essential for achieving that indulgent quality that homemade ice cream is known for.
Granulated Sugar
Sugar is the primary sweetener in this recipe, enhancing the overall flavor of the ice cream while also contributing to its texture. It helps to balance the natural coolness of mint, making the ice cream more palatable. Additionally, sugar plays a vital role in preventing ice crystallization, ensuring a smooth and creamy final product.
Vanilla Extract and Salt
Vanilla extract adds depth to the flavor profile of the ice cream, enhancing the sweetness and complementing the mint. It brings a warm, aromatic quality that rounds out the overall taste. A pinch of salt is equally significant; it enhances flavors and balances sweetness, making the ice cream more flavorful and complex.
Egg Yolks
Egg yolks are the secret ingredient that transforms this mint ice cream into a custard-based delight. They provide richness and stability to the ice cream mixture, helping to create a creamy texture. The process of tempering the egg yolks with the warm milk mixture is crucial for achieving the perfect custard base, allowing for a smooth and silky ice cream.
Step-by-Step Instructions
Now that we’ve covered the ingredients, let’s dive into the step-by-step instructions for making your own homemade fresh mint ice cream. The preparation begins with creating the mint infusion, a vital step that allows the mint flavor to shine.
Preparing the Mint Infusion
1. Gather Your Ingredients: Start by measuring out your fresh mint leaves, whole milk, heavy cream, granulated sugar, vanilla extract, salt, and egg yolks. Having everything ready will streamline the process and make cooking more enjoyable.
2. Prepare the Mint: Rinse the fresh mint leaves under cold water to remove any dirt or impurities. Gently pat them dry with a clean kitchen towel. It’s important that the leaves are as fresh as possible to ensure maximum flavor extraction.
3. Combine Milk and Mint: In a medium saucepan, combine the whole milk and half of the sugar. Add the fresh mint leaves to the mixture. This combination will serve as the base for your ice cream and will allow the mint to infuse its refreshing flavor into the milk.
4. Heat the Mixture: Place the saucepan over medium heat and bring the mixture to a gentle simmer, stirring occasionally. Be cautious not to let it boil, as this could scald the milk. The goal is to heat the milk enough to extract the essential oils from the mint leaves.
5. Steep the Mint: Once the mixture reaches a simmer, remove it from the heat and cover the saucepan. Allow the mint to steep for about 30 minutes. This step is crucial as it allows the mint to impart its flavor fully into the milk, creating a fragrant and flavorful base for your ice cream.
6. Strain the Mixture: After steeping, use a fine-mesh strainer to strain the mint leaves from the milk. Be sure to press down on the leaves gently to extract as much flavor as possible. Discard the spent mint leaves, and return the infused milk to the saucepan.
Mixing Sugar and Egg Yolks
1. Whisk the Egg Yolks: In a separate bowl, combine the egg yolks with the remaining granulated sugar. Using a whisk, beat the mixture until it becomes pale and slightly thickened. This process introduces air into the egg yolks, which will help create a light and creamy texture in the final ice cream.
2. Temper the Egg Yolks: To prevent the eggs from curdling, it’s essential to temper them before combining with the hot milk mixture. Gradually add a small amount of the warm mint-infused milk to the egg yolk mixture, whisking constantly. This step increases the temperature of the egg yolks without cooking them.
3. Combine Mixtures: Once the egg yolk mixture is warmed, slowly pour it back into the saucepan with the remaining mint-infused milk, stirring constantly. This will create a custard base, which is the foundation of your mint ice cream.
4. Cook the Custard: Place the saucepan back on low heat and cook the custard mixture, stirring constantly, until it thickens enough to coat the back of a spoon. This can take around 5-10 minutes. Be careful not to overheat, as this could scramble the eggs.
5. Cool the Custard: Once thickened, remove the saucepan from the heat and stir in the heavy cream, vanilla extract, and a pinch of salt. Allow the mixture to cool to room temperature before transferring it to the refrigerator to chill completely.
By following these initial steps, you will set the stage for creating a delightful homemade fresh mint ice cream that is both refreshing and indulgent. The careful preparation of the mint infusion and the custard base is crucial for achieving the perfect texture and flavor. Stay tuned for the next part, where we will explore the churning process and tips for achieving the ultimate creamy consistency!
Creating the Base
To create a luscious base for your homemade Fresh Mint Ice Cream, start by gathering your ingredients: fresh mint leaves, whole milk, heavy cream, granulated sugar, egg yolks, and a pinch of salt. The magic of ice cream lies in the balance of these components, and it all begins with the custard base.
Importance of Tempering Eggs to Prevent Scrambling
Tempering is a crucial technique for incorporating eggs into your custard without ending up with scrambled eggs. To temper, you’ll want to gradually introduce the hot milk mixture to the egg yolks. Begin by whisking the egg yolks in a separate bowl. Slowly pour about a cup of the hot milk into the yolks while whisking vigorously. This method gently raises the temperature of the yolks, preventing them from cooking too quickly. Once this mixture is warm, you can add it back into the pot with the remaining milk and cream, ensuring a silky texture.
Techniques for Combining Ingredients Smoothly
When combining your tempered egg mixture with the milk and cream, use a gentle folding motion. This technique preserves the air you’ve incorporated into the mixture, which is essential for a light and airy ice cream. Avoid vigorous stirring, which can deflate the mixture and lead to a dense final product.
Cooking the Custard
Now it’s time to cook your custard. Pour the combined mixture back into the saucepan and place it over medium heat. Stir continuously with a wooden spoon or a silicone spatula, making sure to scrape the bottom of the pan.
Explanation of the Thickening Process and Desired Consistency
As you cook the custard, the heat will begin to thicken it. You’re looking for a consistency where the mixture coats the back of your spoon; when you run your finger through it, it should leave a trail. This process usually takes about 10-15 minutes.
Potential Pitfalls to Avoid During Cooking
Be mindful of your heat level. If it’s too high, the mixture can curdle rather than thicken. Always keep stirring to prevent any eggs from sticking to the bottom of the pan, which can lead to uneven cooking and a grainy texture. If you notice any lumps forming, immediately remove the saucepan from the heat and use an immersion blender to smooth it out.
Straining and Chilling
Once your custard has thickened, it’s time to strain it for that perfectly smooth texture.
Importance of Straining for a Smooth Texture
Using a fine-mesh sieve, pour the custard into a clean bowl. This step will catch any bits of cooked egg or mint leaves, ensuring that your ice cream is creamy without unwanted lumps.
Best Practices for Cooling and Chilling the Mixture
Allow the custard to cool to room temperature before refrigerating. Cover the surface with plastic wrap, ensuring it touches the custard to prevent a skin from forming. Chill the mixture in the refrigerator for at least 4 hours, or preferably overnight. This extended chilling time allows the flavors to meld beautifully, resulting in a more flavorful ice cream.
Churning the Ice Cream
Once your custard is chilled, it’s time for the fun part: churning!
Overview of the Ice Cream Maker’s Operation
If you’re using a traditional ice cream maker, ensure that the bowl is fully frozen (usually for 24 hours) before beginning. Pour the chilled custard into the ice cream maker and follow the manufacturer’s instructions. Most machines take about 20-30 minutes to churn the ice cream to a soft-serve consistency.
What to Look for to Know When It’s Done Churning
You’ll know the ice cream is ready when it has thickened and increased in volume, resembling soft-serve. It should hold its shape when you lift the paddle or churner. Take a moment to enjoy the texture before transferring it to a storage container.
Freezing for Firmness
After churning, the ice cream will likely be quite soft.
Importance of Freezing Time for Texture
For the best texture, transfer the ice cream to an airtight container and freeze it for at least 4-6 hours. This allows it to firm up to the perfect scoopable consistency.
Tips for Storing Homemade Ice Cream
To keep your homemade ice cream fresh, store it in a shallow container, which will help it freeze more evenly. Place a piece of parchment paper directly on the surface before sealing the container to minimize ice crystals from forming.
Serving Suggestions
Now that your Minty Fresh Delight is ready, let’s explore creative ways to serve this refreshing treat.
Creative Ways to Serve Mint Ice Cream
Scoop the mint ice cream into bowls or cones for a classic presentation. For a fun twist, consider layering it with chocolate sauce, crushed cookies, or fresh fruit.
Pairing Suggestions with Other Desserts or Toppings
Mint ice cream pairs beautifully with rich chocolate desserts, such as brownies or chocolate cake, creating a delightful contrast of flavors. You can also serve it alongside fruit tarts or berry compotes for a refreshing balance.
Garnishing Ideas for Visual Appeal
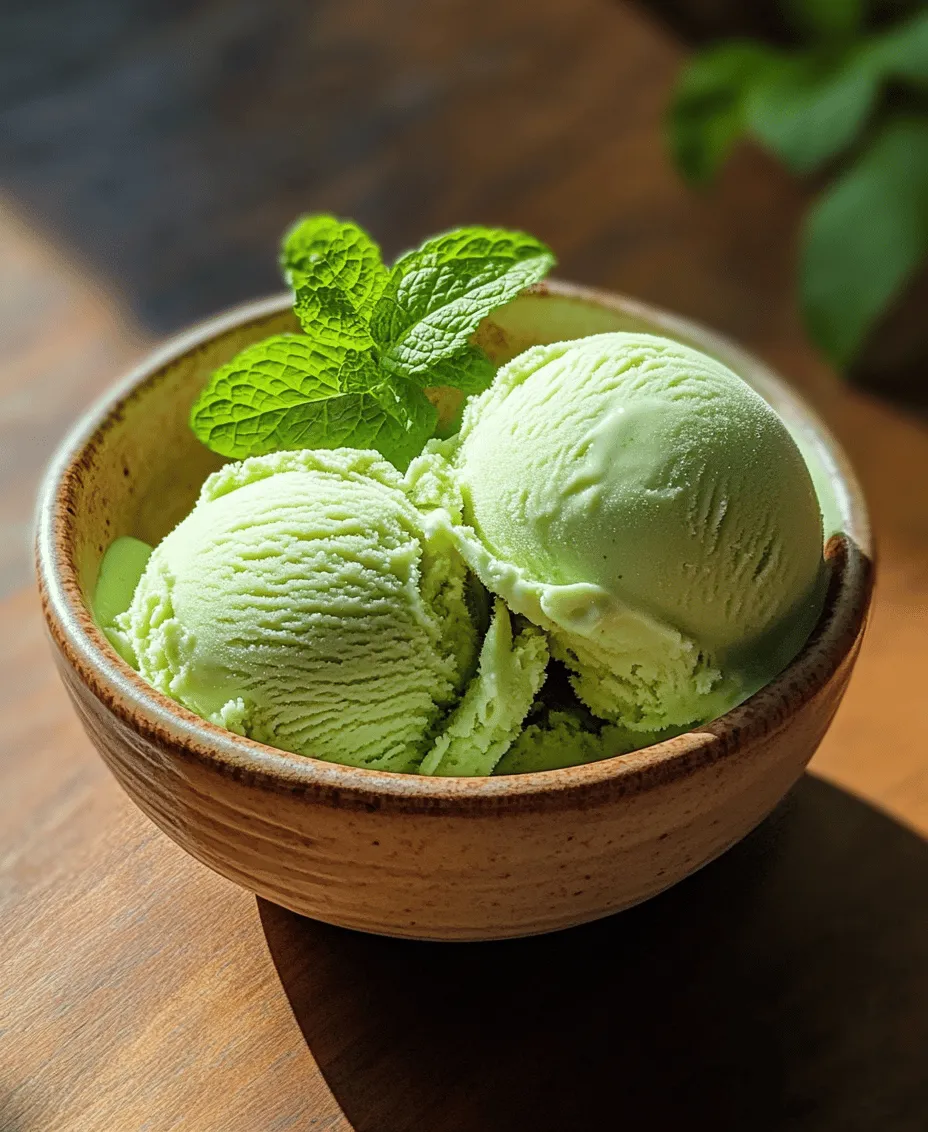
Elevate your serving by garnishing with fresh mint sprigs, a sprinkle of crushed peppermint candies, or a drizzle of warm fudge sauce. These additions not only enhance the visual appeal but also complement the mint flavor.
The Joy of Homemade Ice Cream
Making ice cream from scratch is a rewarding experience that brings joy to the kitchen.
Discussing the Satisfaction of Making Ice Cream from Scratch
There’s something incredibly satisfying about crafting your own ice cream. From selecting fresh ingredients to enjoying the fruits of your labor, the entire process allows you to connect with your food in a meaningful way.
The Experience of Sharing Homemade Treats with Family and Friends
Sharing homemade ice cream with family and friends creates lasting memories. Consider hosting an ice cream party where everyone can customize their scoops with various toppings, fostering a sense of togetherness and celebration.
Exploring Variations and Flavors to Try in the Future
Once you master mint ice cream, don’t hesitate to experiment with other flavors. Consider infusing your ice cream with lavender, fruit purees, or even unexpected ingredients like basil or cardamom. The possibilities are endless, and each new recipe can become a cherished favorite.
Conclusion
In conclusion, creating your own Minty Fresh Delight: Homemade Fresh Mint Ice Cream is an enjoyable culinary adventure. The process allows you to appreciate the freshness of ingredients and the beauty of homemade desserts. With every bite, you can savor the efforts you put into crafting this delightful treat.
I encourage you to experiment with fresh ingredients and explore new flavors that excite your palate. Homemade desserts not only taste better but also connect you to culinary traditions and the joy of sharing with loved ones. So grab your ice cream maker, gather your ingredients, and embark on your ice cream-making journey — there’s a world of flavors waiting for you to explore!